

How To Get Color Palette From Image Photoshop

Create Colour Swatches from Images in Photoshop CC 2020
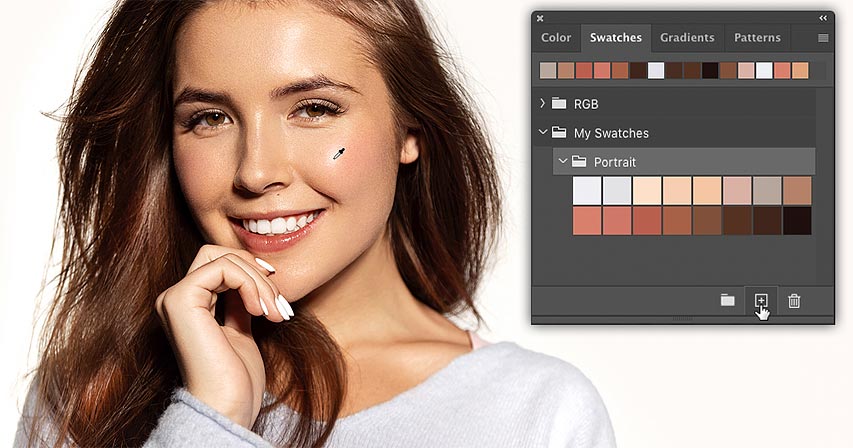
Learn how to plough photos into colour swatches by sampling colors straight from images, and how to relieve your colors as custom swatch sets, in the latest version of Photoshop CC!
In the previous tutorial, nosotros learned all nigh the improved Swatches panel in Photoshop CC 2020. We looked at Photoshop's new default color swatches, and the new means to drag and drop colors from the Swatches panel directly into the document.
This time, I evidence you how piece of cake it is to create your ain color swatches in Photoshop. Specifically, you'll learn how to create swatches by sampling colors from an paradigm. You'll also learn how to organize your swatches into custom sets. And forth the way, I'll show you a simple trick yous can use to reduce the number of colors in your paradigm so that choosing colors becomes a whole lot easier.
For all-time results with this tutorial, you'll need Photoshop CC 2020. If yous're already using Photoshop CC, make sure that your copy is upwards to date.
The document setup
To follow along with me, go ahead and open whatever image. I'll use this image that I downloaded from Adobe Stock:
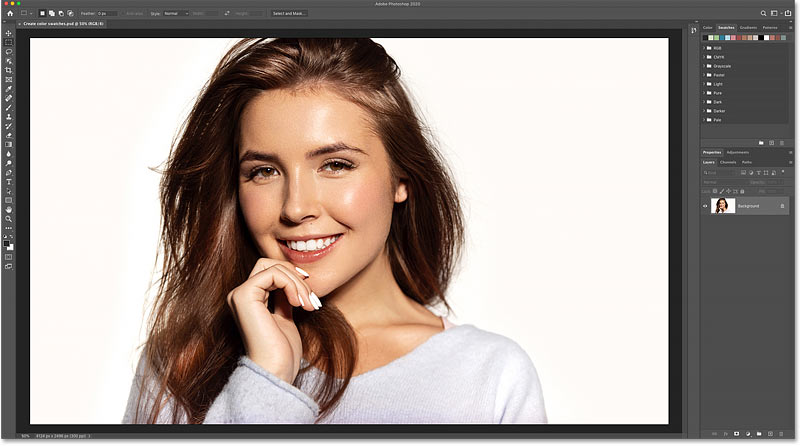
The original image. Photo credit: Adobe Stock.
Allow'south go started!
How to reduce the number of colors in the image
Earlier we start sampling colors from the paradigm, let'due south expect at how to make the procedure of selecting colors easier past reducing the number of colors we tin can choose from. To practise that, we'll pixelate the paradigm. This pace is non admittedly necessary, but you may notice it helpful.
Stride one: Indistinguishable the image layer
In the Layers panel, nosotros see my image on the Background layer:
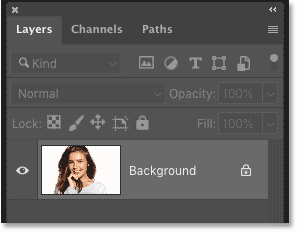
The Layers panel showing the original image.
We need to make a re-create of the image so we don't impairment the original. 1 way to do that is to click on the Background layer (or whichever layer your image is sitting on) and drag information technology downward onto the Add together New Layer icon:
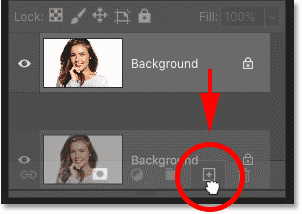
Dragging the image onto the Add New Layer icon.
Release your mouse button, and a copy of the layer appears in a higher place the original:
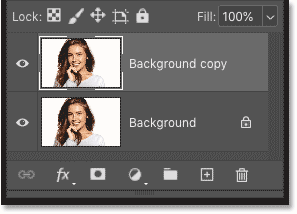
A re-create of the image appears.
Acquire all almost layers in Photoshop with our Complete Guide!
Step ii: Select the Mosaic filter
To pixelate the image, go upwardly to the Filter menu in the Carte Bar, choose Pixelate, and then choose Mosaic:
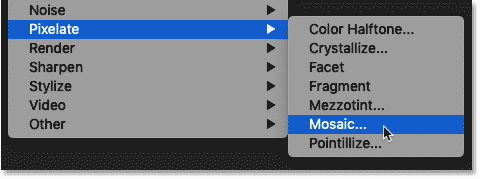
Going to Filter > Pixelate > Mosaic.
Step 3: Adjust the Cell Size value
In the Mosaic filter'southward dialog box, the Prison cell Size selection at the bottom determines the number of squares, or "pixels", that the paradigm will be divided into. Photoshop averages the colors in the image and fills each square with a single colour.
Drag the slider along the bottom to adjust the Jail cell Size value to the desired setting. I'll increase the value to lxxx, only you may need a different value depending on the size of your epitome. Click OK when you're done to close the dialog box:
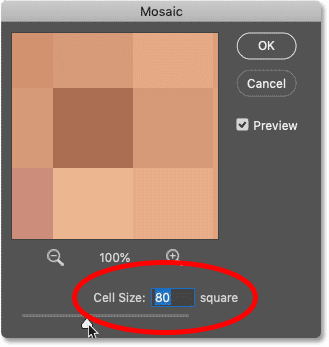
Adjusting the Cell Size value.
Hither's my result after applying the Mosaic filter. With the image at present pixelated, we have a clearer view of the photo'southward overall color palette, and we'll have an easier fourth dimension choosing the colors nosotros demand:
The result after pixelating the paradigm with the Mosaic filter.
Go along filter furnishings editable with Smart Filters in Photoshop!
Creating a new swatch set up in Photoshop CC 2020
And then now that we've pixelated the image, we're ready to first sampling some colors to create swatches. And to keep the Swatches panel organized, nosotros'll first create a new swatch set that we tin can identify our swatches into.
Step ane: Open up the Swatches console
Start past opening the Swatches console. In Photoshop CC 2020, the Swatches console is grouped in with the Color, Gradients and Patterns panels.
Equally I covered in the previous tutorial, the default colour swatches in Photoshop CC 2020 are divided into sets, and each set is represented past a binder. To twirl a set open or closed, click the arrow to the left of its folder icon:
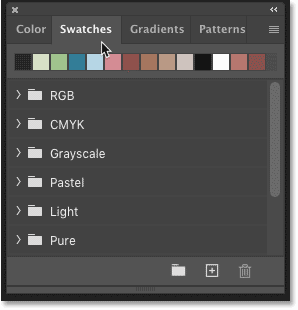
The default color swatch sets in Photoshop CC 2020.
Step 2: Create a new swatch set
To create a new set to hold your own color swatches, click the Create New Group icon at the bottom of the Swatches console:

Clicking the Create New Group icon.
Give the new prepare a name, like "My Swatches", and then click OK:
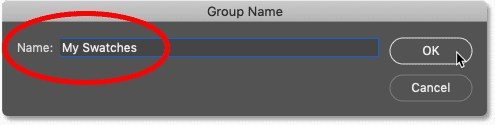
Naming the new swatch ready.
Your new ready appears below the other sets in the list:
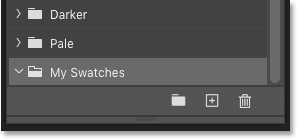
The new "My Swatches" gear up appears.
Tip! Create swatch sets within the primary set up
But rather than placing all of your custom swatches into the same set, information technology's usually amend to divide them into smaller sets within the chief 1. In other words, if you'll exist creating swatches from unlike images, yous may want the swatches from each image to be saved in their ain set.
Step i: Create another new swatch set
For instance, I want to create a set up specifically for the colors from the image I'm using. To do that, I'll again click the Create New Group icon at the bottom of the Swatches console:
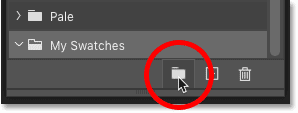
Clicking the Create New Group icon.
And this time, I'll name the set "Portrait". Then I'll click OK to close the dialog box:
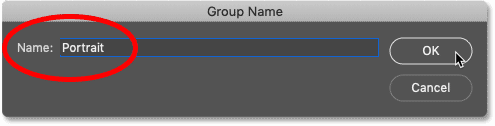
Naming the new ready.
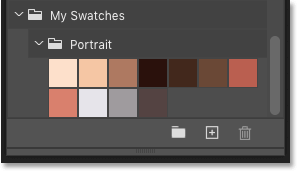
Back in the Swatches panel, the new "Portrait" set appears below the "My Swatches" set up:
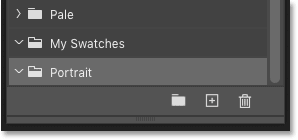
The 2d fix appears.
Step ii: Drag the new ready onto the master set
To move the "Portrait" ready into the "My Swatches" set, all I need to practise is drag the "Portrait" fix and onto information technology. When a blue highlight box appears effectually the "My Swatches" set up, I'll release my mouse button:
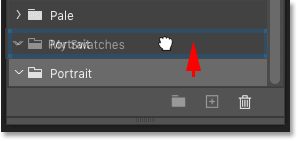
Dragging one ready onto another set.
And at present, the new set up is nested inside the principal one:
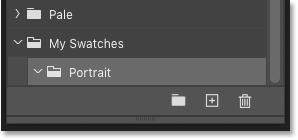
The Swatches panel showing the nested swatch ready.
How to create color swatches in Photoshop
Now that we've created a new set up to hold our swatches, permit's acquire how to create swatches by sampling unlike colors from the prototype.
Step 1: Select a swatch fix in the Swatches panel
First, in the Swatches panel, make sure the prepare you want to save the swatches into is selected. I'll choose my "Portrait" set:

Choosing the correct swatch prepare.
Footstep ii: Select the Eyedropper Tool
Next, in the toolbar, select the Eyedropper Tool. You can as well select the Eyedropper Tool from your keyboard past pressing the letter I:
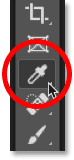
Selecting the Eyedropper Tool.
Step three: Click on a color to sample it
So with the Eyedropper Tool selected, click on one of the colors in the image to sample it:
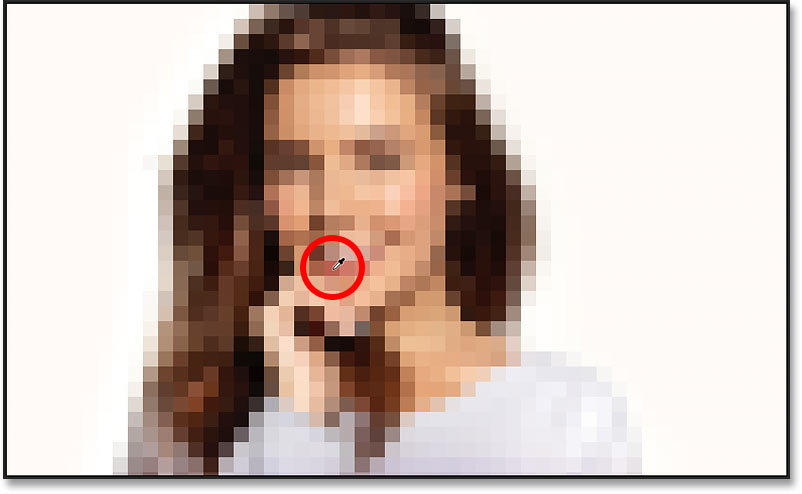
Selecting the Eyedropper Tool.
Back in the toolbar, the color y'all sampled appears equally your new Foreground color:
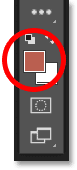
The Foreground Color swatch shows the sampled colour.
Step 4: Click the Create New Swatch icon
To salvage the sampled colour equally a new swatch, click the Create New Swatch icon at the bottom of the Swatches panel:
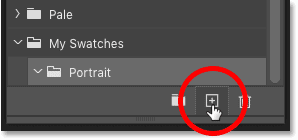
Clicking the Create New Swatch icon.
Yous can name the new swatch in the Color Swatch Name dialog box, or but take the default name. And yous can add the new swatch to your Artistic Cloud library by selecting the Add together to my current library option. I don't need to do that and then I'll uncheck it.
Click OK to shut the dialog box when you're done:
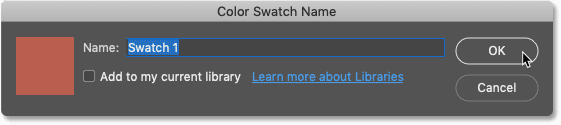
The Color Swatch Proper name dialog box.
Tip! How to skip the Colour Swatch Proper name dialog box
If you lot don't need to name your new swatches, yous tin can skip the Color Swatch Name dialog box by pressing and holding Alt (Win) / Option (Mac) on your keyboard as yous click the Create New Swatch icon.
The new swatch appears as a thumbnail in the active swatch ready:
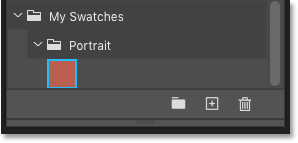
The sampled color is saved as a new swatch.
Run into also: How to cull text colors from images!
How to delete a colour swatch
To delete a colour swatch in the Swatches panel, click on the swatch's thumbnail to highlight information technology, and then click the Delete Swatch icon (the trash bin):
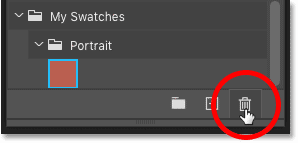
Deleting the selected color swatch.
When Photoshop asks if you want to delete the swatch, click OK. Or to skip this dialog box when deleting a swatch, press and hold Alt (Win) / Pick (Mac) on your keyboard equally you click the Delete Swatch icon:
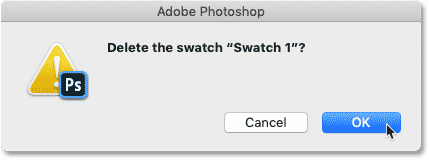
The Delete Swatch dialog box.
Another style to delete a color swatch is to right-click (Win) / Control-click (Mac) on the swatch's thumbnail:
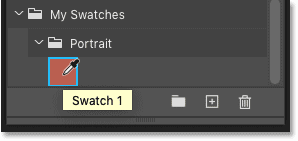
Right-clicking (Win) / Command-clicking (Mac) on the swatch.
And then choose Delete Swatch from the menu:
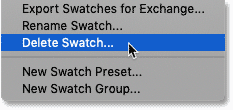
Choosing the Delete Swatch control.
Creating more colour swatches
Go on sampling colors from the image with the Eyedropper Tool and clicking the Create New Swatch icon in the Swatches console. In full general, it'southward best to get a broad range of colors, including a few highlights, some shadows, and some of the more than mutual colors in betwixt.
All of your new swatches volition appear in the gear up, ready to be used in your layout or in hereafter designs:
The new swatches.
Deleting the pixelated version of the image
Finally, to delete the pixelated version of the image when yous're washed, select its layer in the Layers panel and simply drag it down onto the Delete Layer icon (the trash bin):

Dragging the pixelated version onto the trash bin.
And there we accept it! That'due south how easy it is to create your own color swatches, and how to save them in custom sets, in Photoshop CC 2020! In the next tutorial, I'll show you how to import and export your color swatches so you'll always have them when you need them!
Check out our Photoshop Basics section for more tutorials. And don't forget, all of our Photoshop tutorials are available to download as PDFs!
Other Stuff
© 2022 Photoshop Essentials.com.
For inspiration, not duplication.
Site pattern by Steve Patterson.
Photoshop is a trademark of Adobe Systems Inc.
Source: https://www.photoshopessentials.com/basics/create-color-swatches-from-images-in-photoshop-cc-2020/
Posted by: rineharttring1983.blogspot.com
0 Response to "How To Get Color Palette From Image Photoshop"
Post a Comment